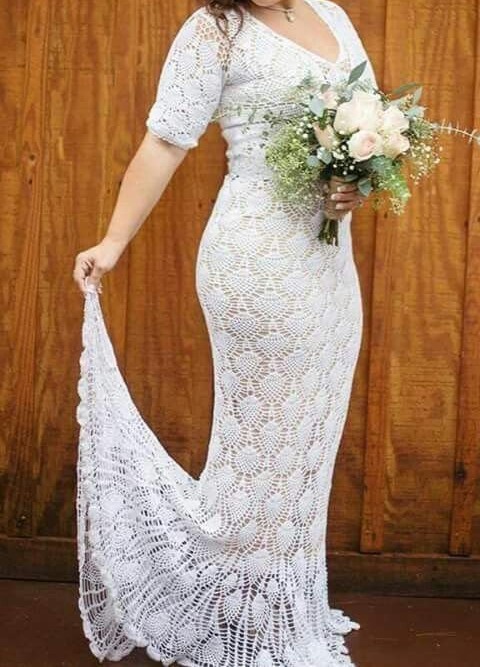
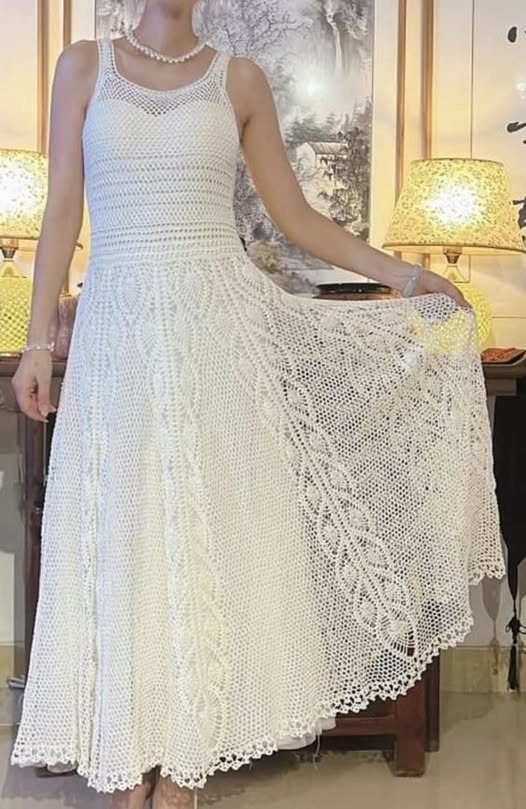
If you dream of creating a unique, handmade wedding dress with love, this guide is for you!
This dress is perfect for crochet enthusiasts looking for a challenging yet rewarding project.
Here’s the complete step-by-step guide to making a crochet wedding dress with long sleeves.
Materials Needed:
Cotton yarn or silk thread in white or off-white (approximately 1500g, depending on the desired size).
Crochet hook (recommended size: 2.5 mm or appropriate for the thread).
Scissors.
Measuring tape.
Pins and sewing needle.
White fabric lining (for the inner part of the dress).
Sewing machine (optional, for attaching the lining).
Stitches Used:
Chain (ch.).
Single crochet (sc.).
Double crochet (dc.).
Treble crochet (trc.).
Fancy stitch (use flower or arabesque patterns of your choice).

Step-by-Step:
- Measurements and Planning:
Take the bride’s measurements:
Bust.
Waist.
Hips.
Desired length of the dress (from shoulder to floor).
Sleeve length.
Divide the dress into three parts: bodice, skirt, and sleeves. This makes it easier to work and adjust.
- Bodice:
Bodice Base:
Start with a chain the size of the bust circumference + 5 cm (for adjustments).
Work in the chosen fancy stitch until reaching the height from bust to waist.
Remember to make increases or decreases as needed to shape the body.
Neckline and Back:
Define the neckline shape (round, V, or square) and work following the curves.
Leave spaces for the opening at the back (where buttons or a zipper will be placed).
- Skirt:
Waist:
Begin the skirt directly from the bodice, adjusting the width with regular increases.
Main Part:
Work in fancy stitch, with increases every 10 cm, to create a flowing and flared fit.
Continue until reaching the desired length.
Hem:
Finish with a delicate border, such as a floral crochet edge.
- Sleeves:
Cuffs:
Start with a chain the size of the wrist circumference.
Work in fancy stitch, gradually increasing until reaching the arm’s width.
Length:
Continue until the desired length.
Attach the sleeves to the bodice with invisible stitches.
- Lining:
Cut the fabric according to the dress measurements.
Sew the lining inside the dress to ensure comfort and structure.
- Finishing Touches:
Check all details and adjust if necessary.
Add buttons or a zipper to the back opening.
Gently press the dress to set the stitches.
Extra Tip:
If desired, add details like pearl embroidery or satin ribbons for a special touch.


Leave a Comment